

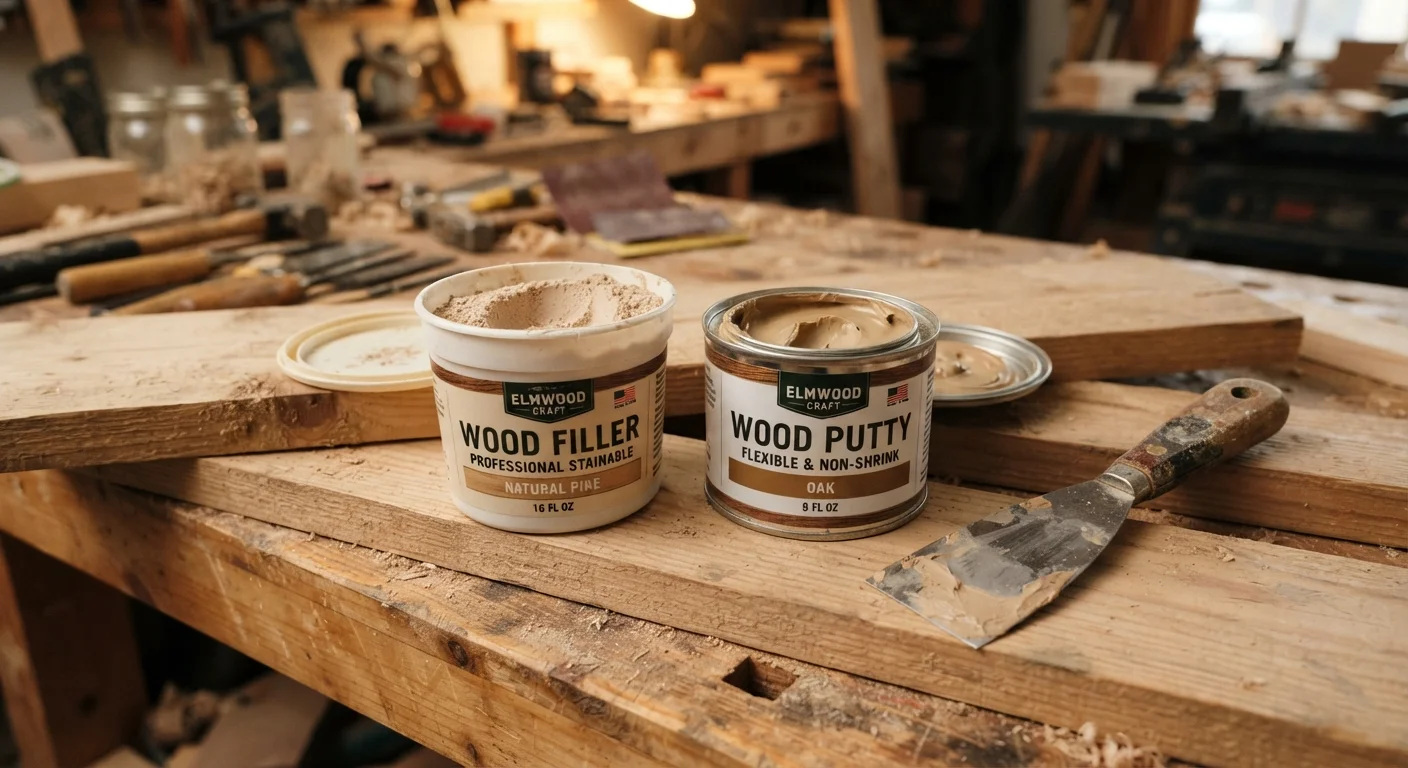
Key Takeaways
Option A
Wood Filler
The structural repair compound for unfinished wood.
Best for: Filling gouges, cracks, and holes in raw or unfinished wood before staining or painting.
Option B
Wood Putty
The flexible touch-up solution for finished surfaces.
Best for: Concealing nail holes and minor blemishes on already-finished or painted wood.
If you're repairing raw or unfinished wood before applying a finish
Wood Filler
Wood filler bonds strongly with bare wood grain, sands flush, and accepts stain or paint once cured - giving you a clean foundation for any topcoat.
If you're patching nail holes or small dents in already-painted or stained wood
Wood Putty
Wood putty remains pliable after drying, so it moves with the wood without cracking. It's designed to blend into an existing finish rather than be sanded aggressively.
If your repair is on an outdoor or high-moisture surface
Wood Filler
Many wood fillers are formulated to resist moisture and can be sealed or painted over, making them more durable in exterior conditions than standard putty.
If you need a quick cosmetic fix with no sanding
Wood Putty
Putty requires no sanding and minimal prep - simply press it into the blemish, let it set, and blend with the surrounding finish color.
What Sets These Two Products Apart
Wood filler and wood putty look nearly identical on store shelves, but their chemistry and intended use differ in important ways. Understanding those differences saves you from a repair that cracks, resists stain, or simply falls out over time.
Wood filler is a hardening compound - typically made from wood fiber or cellulose suspended in a water- or solvent-based binder. When it cures, it becomes rigid, can be sanded smooth, and accepts paint or stain. Because it bonds to raw wood fibers, it works best on unfinished surfaces.
Wood putty, by contrast, is an oil- or latex-based compound that stays somewhat pliable after drying. That flexibility is intentional: wood naturally expands and contracts with humidity and temperature, and a rigid filler in a finished surface can crack and pop out. Putty moves with the wood. It's designed to be the last step, applied after the stain or paint is already down.
| Criterion | Wood Filler | Wood Putty |
|---|---|---|
| Composition | Wood fiber or cellulose in a binder | Oil- or latex-based paste |
| Dries to | Hard and rigid | Slightly flexible |
| Sandable | Yes | Minimally or not at all |
| Best used on | Unfinished, raw wood | Already-finished wood |
| Stainable | Generally yes | No - color is pre-matched |
| Typical use | Gouges, cracks, larger voids | Nail holes, minor surface blemishes |
| Handles wood movement | Poorly - may crack | Well - remains pliable |
| Outdoor suitability | Yes, when sealed | Limited - check product label |
Think of it this way: filler is a structural repair material; putty is a cosmetic touch-up material. Mixing them up doesn't just produce a mediocre result - it can actually damage the surface or make a repaint more difficult later. For similar "which product belongs here" decisions around the home, see our guide on caulk vs. grout.
How to Choose Based on Your Project
The single most useful question to ask is: Has this wood already been finished?
- Unfinished wood (pre-stain or pre-paint): Reach for wood filler. Apply it slightly proud of the surface, let it cure fully according to the manufacturer's directions, then sand flush before applying your topcoat. Most fillers accept stain, though water-based versions may raise the grain slightly - a light sanding after the first coat corrects this.
- Already-finished wood (post-paint or post-stain): Use wood putty. Press it into nail holes or small voids, smooth it level with a putty knife or fingertip, and wipe away any excess. No sanding is required in most cases.
A Note on Depth Limits
Wood filler should generally be applied no deeper than about half an inch per layer. Thicker applications trap moisture inside as the outer layer cures first, which can lead to shrinkage cracks or a repair that feels solid on top but is hollow underneath. For deep voids, build up the repair in two or more layers, allowing full cure between each. Wood putty is not intended for deep fills at all and should be reserved for surface-level cosmetic repairs only.
Depth of the repair also matters. Wood filler is appropriate for holes up to about half an inch deep in a single application - deeper voids may need to be filled in layers, allowing each layer to cure before adding the next. Wood putty is only suited for shallow surface imperfections, typically nail holes and minor scratches.
For larger structural damage - think rotted sections, missing chunks, or significant splits - neither product alone is the right answer. A two-part epoxy wood consolidant is more appropriate, and for anything load-bearing you should consult a qualified contractor. If you're tackling wall repairs at the same time, our guide on drywall patching covers a parallel set of decisions.
Application Tips That Make the Difference
Even the right product will underperform with poor technique. A few practical habits improve results on both types of repair:
- Clean the surface first. Dust, wax, oil, and loose wood fibers all reduce adhesion. Wipe the area with a dry cloth before applying either product.
- Slightly overfill, then reduce. Both filler and putty shrink slightly as they dry. Applying a little extra and then sanding or wiping back to flush produces a smoother final result than trying to fill exactly level.
- Match the color before you commit. Wood putty is sold in pre-mixed tones (pine, oak, walnut, and so on). Test a small amount on a scrap of the same finished wood before using it on the repair - colors shift as they dry. Filler takes on the color of your topcoat, so an exact color match matters less.
- Respect cure times. Sanding filler before it's fully cured can tear it out rather than smooth it. Most products indicate cure time on the label; err toward the longer end in humid conditions.
- Seal outdoor repairs. If you're working on exterior wood and choose a filler, always apply a compatible sealer or paint over it. Uncovered filler will absorb moisture and deteriorate.
Small repairs handled with the right material and good technique are one of the most cost-effective ways to extend the life of wood surfaces throughout your home - from trim and baseboards to decking and furniture.