

Key Takeaways
Choosing the Right Method Before You Start
Drywall damage falls into three broad categories, and the repair approach depends almost entirely on the hole's size. Treating every hole the same way is the most common mistake homeowners make - using a heavyweight patch on a nail pop creates unnecessary bulk, while using only spackle on a fist-sized hole will crack within weeks.
Here's a quick sizing guide:
- Tiny damage (up to ½ inch): Nail holes, small screw pops, and minor dents. These need nothing more than lightweight spackling compound and a finger or small putty knife.
- Small holes (½ inch to 4 inches): Door-knob dings, drywall anchors, and accidental punctures. A self-adhesive mesh patch or a peel-and-stick aluminum patch works well here.
- Medium holes (4 to 6 inches): These require a California patch - a cut piece of drywall with its paper face used as a built-in tape - or a mesh patch with generous joint compound coats.
- Large holes (over 6 inches): You'll need to cut the damaged area back to studs or install wood backer strips, then screw in a replacement drywall piece and tape the seams.
Just like choosing between wood filler and wood putty for a wood repair, selecting the right drywall compound for your specific situation determines whether the result lasts.
What you will need
Step-by-Step Patching Instructions
Follow these steps in order. The sequence matters - especially the drying time between coats - so resist the urge to rush ahead.
Clean and Prepare the Damaged Area
Remove any loose paper, crumbled gypsum, or protruding fasteners around the hole. For nail pops, drive the nail back in with a hammer and then drive a drywall screw just above and below it to secure the panel to the stud - the nail itself tends to pop again if left alone. Wipe the area clean of dust so patching materials adhere properly.
Apply the Correct Patch Base
For tiny holes, press a small amount of lightweight spackling into the hole with a putty knife and smooth it flush. For holes up to 4 inches, peel and stick a self-adhesive mesh patch directly over the hole, centered. For medium holes, cut a square piece of drywall about 2 inches larger than the hole, score and snap the gypsum away from one side's paper facing, and use the paper flange as your built-in tape (the California patch method). For large holes, cut the damaged section back to the nearest studs using a drywall saw, add horizontal wood backer strips if needed, screw in a replacement piece, and apply paper drywall tape over all seams with joint compound.
Apply the First Coat of Joint Compound
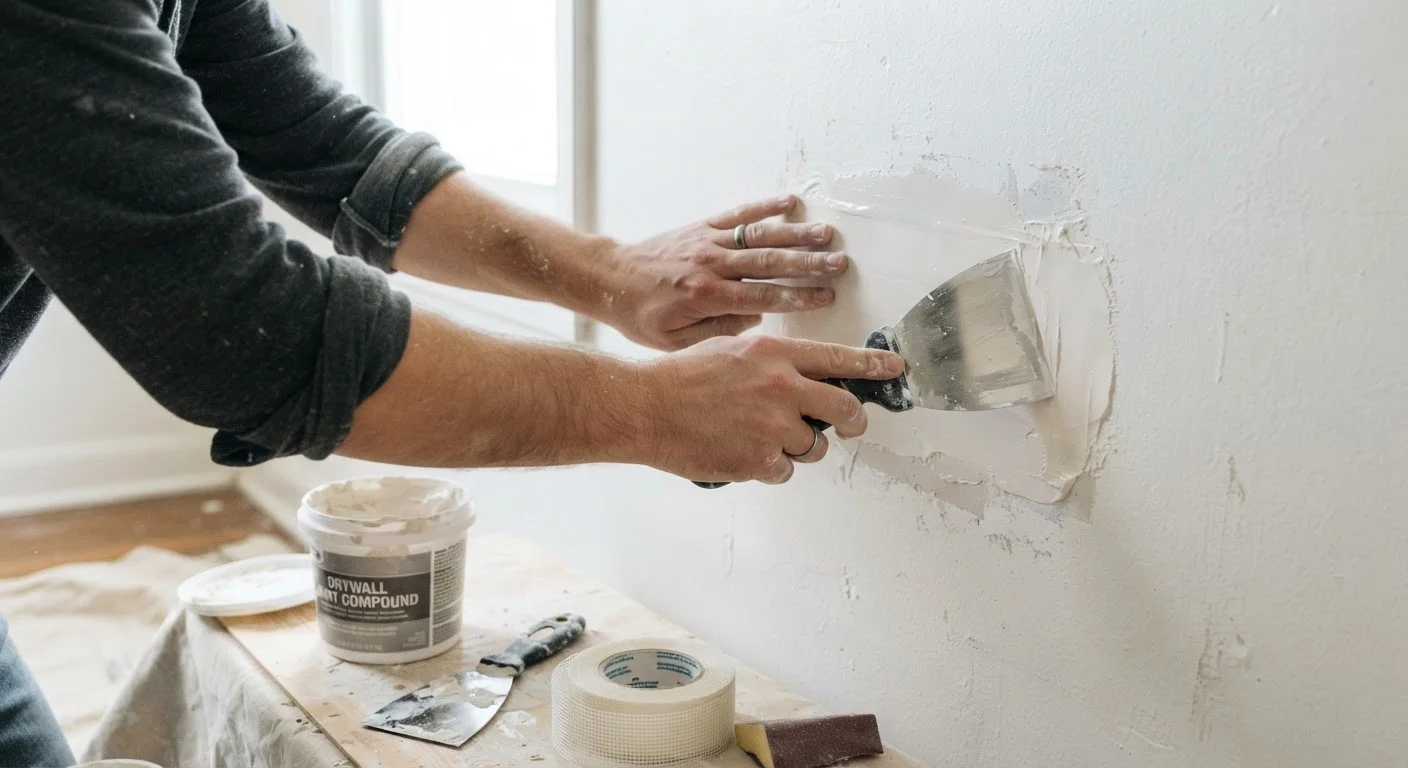
Using a putty knife or taping knife, spread a thin, even layer of all-purpose joint compound over the patch and feather the edges outward several inches onto the surrounding wall. The goal of the first coat is to embed the tape or mesh and fill the void - not to achieve a perfect surface. The compound will shrink as it dries, so slight overfilling is fine at this stage.
Sand, Then Apply Additional Coats
Allow the first coat to dry completely - typically 24 hours in normal indoor conditions, longer in humid environments. Once dry, sand lightly with 120-grit sandpaper to knock down ridges, then wipe away dust with a slightly damp cloth. Apply a second, wider coat of compound, feathering it even further. Most repairs require two to three coats. Each coat should be thinner and wider than the last.
Final Sand, Prime, and Paint
After the final coat dries, sand the entire patched area smooth, starting with 120-grit and finishing with 220-grit. Run your hand across the surface with the light raking across the wall - you'll feel high spots that your eyes miss. Apply drywall primer to the patched area, allow it to dry fully, then paint. Match the application method (roller vs. brush) to the surrounding wall to keep sheen and texture consistent.
Light Is Your Best Quality-Check Tool
Before priming, hold a work light or a strong flashlight parallel to the wall surface (raking light). This side-lighting reveals low spots, ridges, and unfeathered edges that look invisible under normal overhead lighting. Address any imperfections now, before paint locks them in permanently.
Finishing and Texture Matching
A smooth patch that doesn't match the surrounding wall texture will still be visible once painted. Texture matching is often where DIY repairs fall apart, but it's achievable with patience.
Flat or smooth walls: Sand the dried final coat with 120-grit paper, then finish with 220-grit. Feather the edges so the patch transitions gradually into the surrounding surface. Apply a coat of drywall primer before painting - skipping primer is the single biggest reason patches show through paint as dull spots.
Orange peel texture: Thin all-purpose joint compound to a pancake-batter consistency and apply it with a roller, or use a spray texture can held 18-24 inches from the wall. Practice on a piece of cardboard to dial in the pattern before applying to the wall.
Knockdown texture: Apply thinned compound with a roller, wait until it loses its sheen (roughly 5-10 minutes), then lightly flatten the peaks with a wide knife held nearly flat. The goal is irregular, flattened splatters - not uniformity.
Popcorn or Textured Ceilings Require Extra Caution
Older popcorn ceiling texture applied before the 1980s may contain asbestos. Do not sand, scrape, or disturb this material without first having it tested by a qualified professional. Contact your local health or environmental agency for guidance on testing and safe removal requirements in your area.
Once texture is dry, prime the entire patch area and paint with your existing wall color. If you're matching an older paint color, test the new paint in a small area first and allow it to dry fully before judging the match - wet paint always looks different from dry paint.