

Key Takeaways
Summary
22 items · 1-3 hours depending on garden size
Why a Spring Walkthrough Pays Off
It's tempting to jump straight into planting when warmer days arrive, but a structured walkthrough of your garden before anything goes in the ground consistently leads to better results. Problems that winter quietly creates - compacted soil, cracked irrigation lines, tool rust, perennial die-back - are far cheaper and easier to address before the growing season is in full swing.
This checklist is organized into four logical stages: soil and beds, debris and cleanup, tools and supplies, and planting planning. Work through them in order during a single morning or across a couple of weekend sessions. If you're setting up a food garden for the first time, our guide to starting a vegetable garden from scratch picks up where this checklist leaves off. For lawn-specific spring tasks, see our season-by-season lawn care guide.
Soil and Bed Assessment
Debris and Winter Cleanup
Tool and Equipment Inspection
Planting and Layout Planning
Tools and Supplies You'll Need
Before you begin your walkthrough, gather these items so you're not making repeated trips to the garage. Having everything on hand keeps the assessment moving efficiently.
Soil test kit
Measures pH and key nutrient levels so you only amend what your soil actually needs.
Garden fork or spade
Loosens compacted soil and incorporates compost into bed areas.
Pruners and loppers
Cuts back dead stems and perennial growth cleanly without tearing plant tissue.
Whetstone or flat file
Sharpens blades on pruners, loppers, and spades before the season begins.
Trowel
Useful for spot-checking soil depth, removing weeds, and setting transplants.
Garden hose or drip line inspection tools
Allows you to check for leaks, clogs, and connection failures in irrigation lines.
Compost or soil amendment
Added to beds after soil testing confirms what nutrients or organic matter are lacking.
Notepad or garden journal
Records soil test results, observations, and planting plans for future reference.
Don't Work Wet Soil - It Causes Lasting Damage
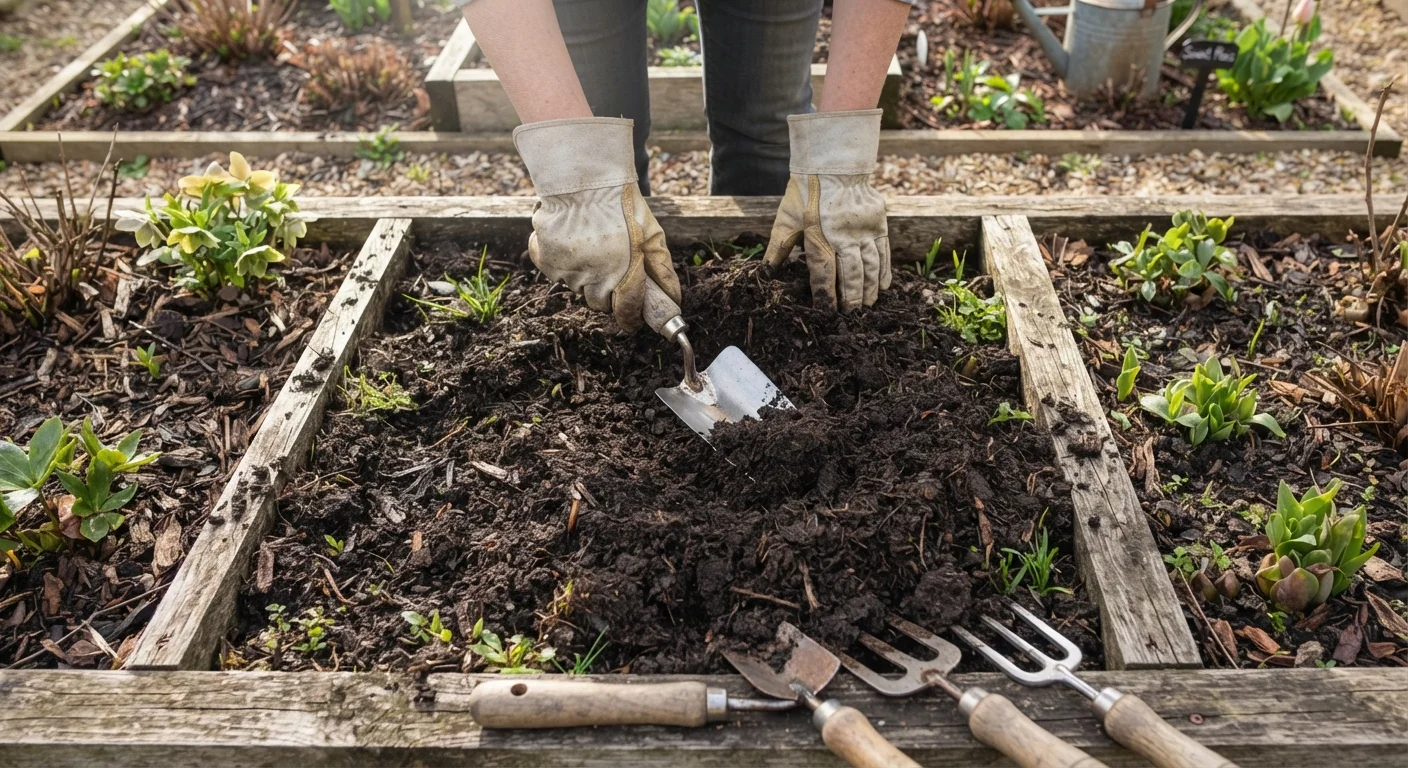
Digging or tilling soil when it is saturated compresses the soil structure, destroying the air pockets that roots depend on. To check readiness, squeeze a handful: if water drips out or it stays in a tight ball without crumbling, wait a few days before working the bed. Patience here pays off in noticeably better plant establishment later in the season.
Planning Your Plantings and Next Steps
Once your beds are cleared, soil is assessed, and tools are in working order, shift focus to the planning stage. Sketch out which areas receive full sun (6+ hours), partial shade, or deep shade - this single step prevents the most common beginner mistakes. Group plants with similar water needs together to simplify irrigation and reduce waste.
If your outdoor space is limited, container growing is a practical alternative. Our container gardening guide for patios and balconies covers potting mix, drainage, and crops that thrive in confined spaces. And while you're in a seasonal maintenance mindset, it's worth pairing this walkthrough with the broader seasonal home maintenance checklist to catch any winter wear on structures, gutters, or exterior surfaces connected to your garden areas.
Record what you find during your walkthrough - even a few quick notes on a phone or notepad. Knowing what amendments your soil received, which areas drain poorly, or which perennials didn't return gives you a reference point that improves every season going forward.
Frost Date Timing Is Non-Negotiable
Planting warm-season crops before your area's last average frost date risks losing everything to a single overnight freeze. Look up your USDA Plant Hardiness Zone and your local cooperative extension's average last frost date - these are free resources and far more reliable than calendar dates alone. Even cold-hardy transplants can suffer if set out too early into cold, unworked soil.