

Home & Garden

Before You Declutter: A Room-by-Room Readiness Checklist

Share
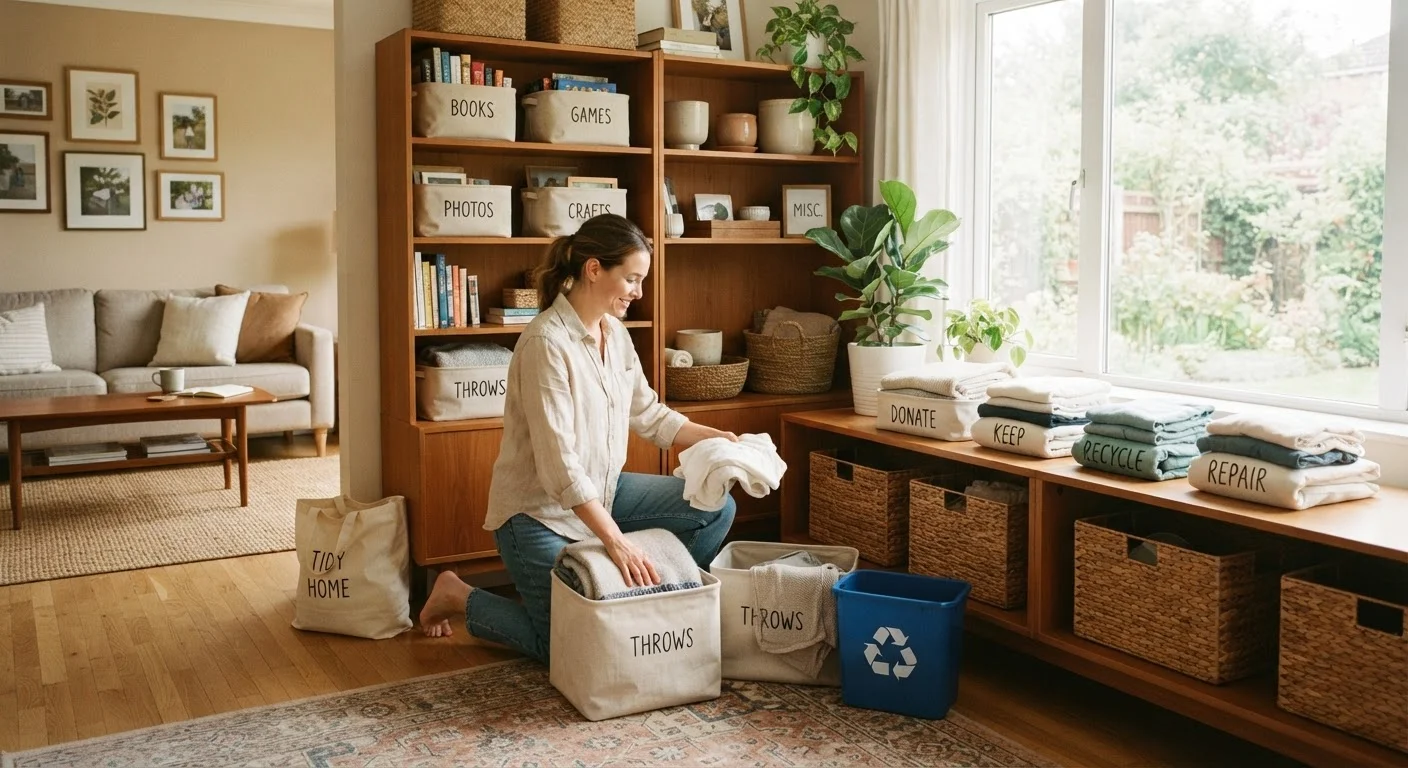
Neatly sorted piles of household items in labeled bins during a home decluttering session

Key Takeaways

Gathering supplies and setting clear sorting categories before you start prevents mid-session paralysis.
Breaking the project into individual rooms reduces overwhelm and makes progress visible.
Deciding donation, trash, and keep destinations in advance speeds up every decision.
High-traffic rooms like kitchens and entryways often yield the fastest, most noticeable results.
Paper clutter requires its own dedicated strategy separate from general room decluttering.
Small organizational changes compounded across every room create significant everyday convenience.
30–60 min

Summary

22 items · 30–60 minutes to review; additional time per room varies

Why Readiness Matters Before You Touch a Single Drawer

Most decluttering stalls not because people lack motivation, but because they start without a plan. You open a closet, get distracted by a memory tied to an old item, run out of boxes, and quit before lunchtime. A brief readiness audit before you begin changes that pattern entirely.

This checklist is designed for two distinct phases: the prep work you do before entering any room, and then the specific walk-through tasks for each space. Work through both, and you'll move faster, make fewer regret decisions, and actually finish what you started. If you're also thinking about complementary home projects, the seasonal home maintenance checklist pairs well with a declutter pass — many readers tackle both in the same weekend.

Required

Sorting bins or boxes

Hold items sorted into Keep, Donate, Trash, and Relocate categories throughout the process.

Required

Permanent marker and masking tape

Label bins and dated ambiguity boxes so decisions remain clear after you move to the next room.

Required

Trash bags (heavy-duty)

Contain discarded items securely and make it easy to remove them from the home immediately.

Optional

Vacuum storage bags

Compress bulky off-season clothing or bedding to reclaim closet and storage space.

Optional

Smartphone or camera

Capture before-and-after photos of each room to track visible progress and stay motivated.

The Checklist: From Prep to Every Room

Use the groups below in order. The preparation phase applies to your entire home; the room-by-room groups address specific spaces. Check off items as you go — momentum compounds.

Before You Begin: Universal Prep

Gather four clearly labeled containers — Keep, Donate, Trash, and Relocate — before entering any room. Must
Identify your donation destination and confirm its current hours and accepted item types. Must
Block out dedicated, uninterrupted time for each room rather than trying to do the whole house in one session. Must
Set a simple decision rule you'll follow throughout, such as 'if I haven't used it in 12 months and don't have a specific future use for it, it leaves.' Should
Take a quick photo walkthrough of each room so you have a before reference and can see progress clearly. Nice to have

Kitchen and Pantry

Empty every cabinet and drawer completely before sorting, so you can see duplicate items and forgotten tools. Must
Check expiration dates on all pantry items and discard anything expired or stale. Must
Remove any appliance you haven't used in the past year and can't name a specific upcoming use for. Should
Consolidate partial duplicates — multiple sets of measuring cups, excess spatulas — down to one functional set. Should

Bedrooms and Closets

Pull all clothing out of the closet and drawers before making any keep decisions — visibility prevents oversight. Must
Sort clothing by category (tops, bottoms, outerwear) and donate items that don't fit, are damaged, or haven't been worn in over a year. Must
Check under beds and the tops of closet shelves, which often accumulate items that were 'temporarily' stored. Should
Store off-season clothing in labeled bins or vacuum bags to reduce active closet clutter. Nice to have

Bathrooms

Discard all expired medications, skincare products, and cosmetics — check the period-after-opening symbol for guidance. Must
Remove products you genuinely don't use, even if they're mostly full, to free up accessible storage. Should
Check that your medicine cabinet contains items you'd actually reach for — relocate anything stored there out of habit rather than need. Should

Living Areas and Entryways

Clear the entryway of any item that doesn't belong to a functional daily-use category — shoes, coats, keys, and bags only. Must
Assess bookshelves, media collections, and decorative objects: keep only items you actively enjoy or reference. Should
Remove items that were placed in the living area temporarily and never moved; return them to their correct room or donate them. Should
Evaluate cable and cord tangles — remove cords for devices you no longer own and organize remaining ones. Nice to have

Hazardous Items Need Special Disposal

Certain household items — including old paint, batteries, cleaning chemicals, electronics, and medications — cannot simply go in the trash or recycling bin. Many municipalities offer designated drop-off events or permanent collection sites for these materials. Check your local government or waste management authority's website to find the appropriate disposal option before your declutter day, so hazardous items don't end up sitting in a pile.

Making Your Decisions Stick

The hardest part of decluttering isn't finding things to remove — it's committing to the decision. A few habits dramatically improve follow-through:

  • Same-day removal: Move donation bags and trash bags out of the house the day you fill them, not the following weekend. Delay breeds retrieval.
  • Box the ambiguous: Items you can't decide on go into a dated box stored out of sight. If you haven't opened it in 60–90 days, donate it unopened.
  • Paper is its own project: Don't let paper slow down your room passes. Flag paper piles and return to them separately. The guide to managing paper clutter at home walks through a practical sorting and digitizing framework.

Once your home is cleared out, you'll also want a system for keeping it that way. Explore the one-in, one-out vs. seasonal purging comparison to find a maintenance rhythm that fits your lifestyle.

Don't Declutter Someone Else's Belongings

If you share your home with others, only sort items that belong to you or are clearly shared household goods. Removing or donating items that belong to a partner, child, or roommate without their knowledge or consent can damage trust and create conflict. Invite household members to do their own sorting, and tackle shared spaces together.

Home & Garden Editorial Team is the collective byline for our editorial team and contributor network. Articles published under this byline or an editorial pen name are researched, written, and reviewed according to our editorial standards for clarity, consistency, and independence before publication.

View all articles by Home & Garden Editorial Team →
Disclaimer: The content provided on our blog site traverses numerous categories, offering readers valuable and practical information. Readers can use the editorial team’s research and data to gain more insights into their topics of interest. However, they are requested not to treat the articles as conclusive. The website team cannot be held responsible for differences in data or inaccuracies found across other platforms. Please also note that the site might also miss out on various schemes and offers available that the readers may find more beneficial than the ones we cover.