

Key Takeaways
Why Drafts Are More Than a Comfort Problem
A drafty home is easy to dismiss as an old-house quirk, but uncontrolled air leakage has real consequences beyond feeling chilly near a window. According to the U.S. Department of Energy, air infiltration can account for roughly 25-40% of the energy used to heat and cool a typical home. That means a significant share of your utility spending goes directly outdoors through gaps you may not even see.
Beyond energy loss, uncontrolled air movement carries moisture into wall cavities and attic spaces. Over time, that moisture can promote mold growth, degrade insulation performance, and cause wood rot - problems that cost far more to fix than the original air sealing would have. Drafts also pull in outdoor allergens and pollutants, affecting indoor air quality throughout the year.
The good news: most air sealing work is accessible to homeowners with basic DIY skills and modest budgets. Understanding where to look and which materials suit each situation is the starting point. See our overview of renovation costs to watch for before budgeting your project.
25-40%
Energy lost to air leakage in typical homes
According to the U.S. Department of Energy, uncontrolled air infiltration accounts for this share of heating and cooling energy use.
~$300
Estimated annual savings from air sealing and insulation
The U.S. EPA's ENERGY STAR program estimates homeowners can save roughly this amount annually through sealing and insulation improvements.
50%+
Air leaks located in attic and basement
Building science research consistently finds that attics, crawl spaces, and basements are responsible for the majority of a home's total air leakage.
Finding Where Air Is Actually Escaping
Effective weatherproofing begins with a systematic inspection rather than guesswork. On a cold, windy day, move slowly along exterior walls, around window and door frames, and near the floor - hold a lit stick of incense or a candle close to suspected gaps. Smoke that wavers or is pulled toward the surface marks an air leak. A damp hand held near suspect areas can detect cool air flow similarly.
Common culprits in older homes include: gaps around plumbing and electrical penetrations in exterior walls; the joint where the foundation sill plate meets the framing; attic hatch perimeters; recessed light fixtures that open into unconditioned attic space; and gaps around fireplace dampers and hearths.
For a more thorough assessment, a professional energy auditor can perform a blower-door test - a calibrated depressurization of the home that makes leaks far easier to locate and quantify. Many utility companies offer subsidized audits. While not required before starting basic sealing, an audit is worth considering for larger or older homes where leaks may be numerous and hard to find visually. Our seasonal maintenance checklist can also help you work through the home systematically each year.
Do your draft inspection on the coldest, windiest day you can manage - temperature and pressure differences are at their peak, making leaks far easier to detect with a candle or your hand.
Air infiltration increases with the differential between indoor and outdoor temperature and pressure. Adverse conditions that feel unpleasant for you make leaks unmistakable.
Before pulling out insulation in the attic to locate bypasses, photograph the area first so you know exactly where to repack it when the work is done.
Disturbed attic insulation that is not repacked correctly leaves cold spots that undermine the benefit of the sealing work you just completed.
Door and Window Air Sealing: Materials and Methods
Doors and windows are the first places most homeowners look, and rightly so - gaps here are visible and usually straightforward to address.
Door Sweeps
A door sweep seals the gap between the bottom of a door and the threshold. Automatic door sweeps retract when the door opens and drop when it closes, making them practical for high-traffic entries. For exterior doors, look for sweeps rated for exterior use with durable sealing strips of silicone or neoprene.
Weatherstripping
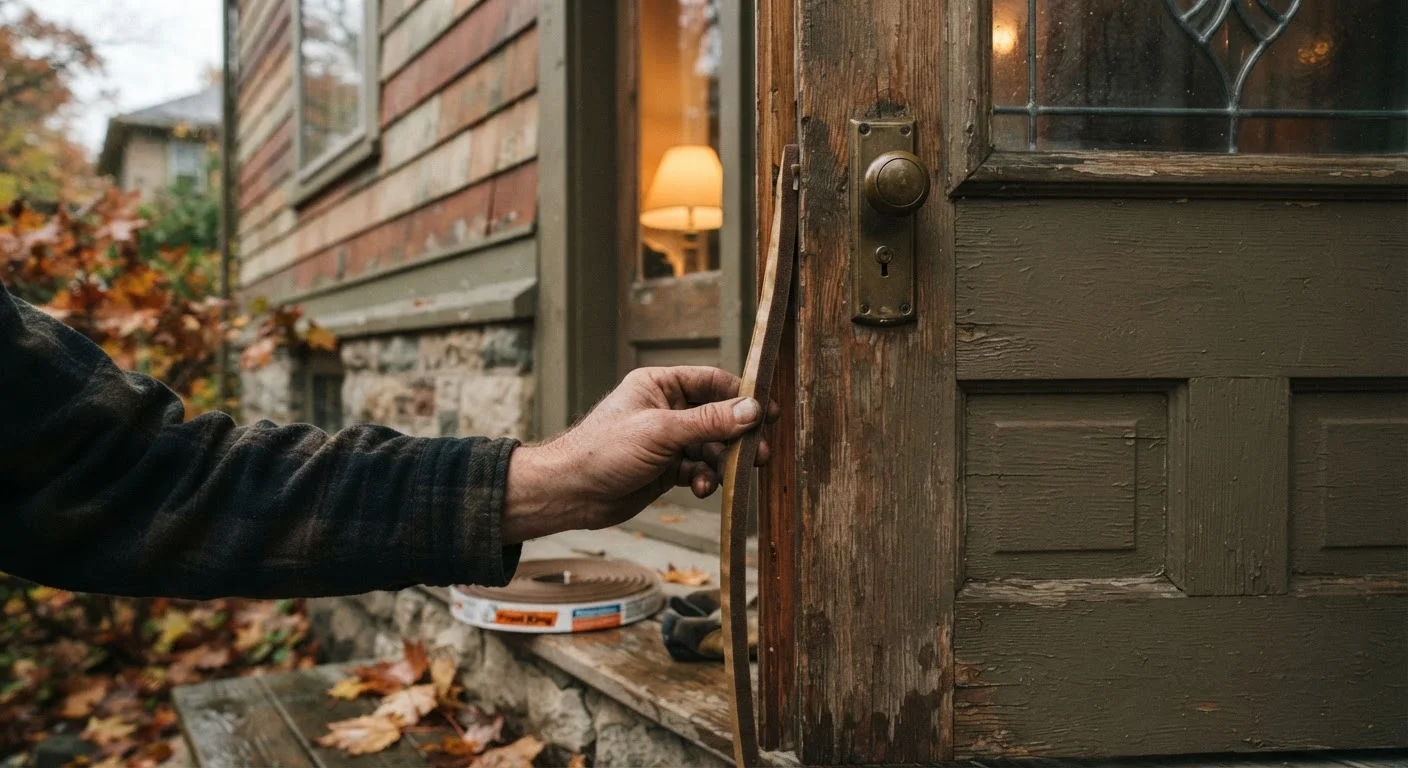
For the sides and top of door frames, foam tape is the easiest option but compresses and degrades within a few years. V-strip (tension seal) weatherstripping made from metal or durable plastic lasts considerably longer and maintains a better seal through repeated use. For windows, the same V-strip works well in channels where the sash slides.
Caulk for Fixed Gaps
Non-moving joints - between window trim and siding, around exterior pipe penetrations, or at the junction of different siding materials - are best sealed with caulk. Use paintable acrylic latex caulk for painted surfaces indoors and siliconized or 100% silicone caulk for exterior applications exposed to weather. Foam backer rod is useful for gaps wider than about 3/8 inch before caulking, giving the caulk something to adhere to without cracking.
Test Caulk Adhesion Before Committing
On exterior surfaces, clean and dry the substrate thoroughly before applying caulk - adhesion failures on damp or dirty surfaces are the leading cause of caulk that peels within a season. Apply a small test bead and check it after 24 hours before completing the full run. In cold weather, bring the caulk tube indoors overnight to restore workable viscosity.
Attic Bypasses and Insulation: The Biggest Wins
In most older homes, the attic is where the largest volume of conditioned air escapes - and where sealing effort pays off most. The mechanism is stack effect: warm air rises, exits through attic gaps, and pulls cold outdoor air in at lower levels. Sealing attic bypasses addresses both sides of this cycle.
Attic bypasses are gaps where interior wall top plates, plumbing chases, and electrical penetrations open directly into the attic. These are often hidden beneath existing insulation. To access them safely, work only on a cool day, wear a respirator rated for insulation particles, and avoid stepping between joists where you could fall through the ceiling.
Seal small gaps (under 3 inches) with caulk or canned spray foam. Larger openings around plumbing stacks or interior wall top plates can be covered with rigid foam board cut to fit and sealed at the edges with canned foam. Always maintain required clearances around heat-producing equipment - do not seal near flues, chimneys, or gas appliances without understanding the required air gaps, and consult a professional if you are uncertain.
Once bypasses are sealed, adding or upgrading attic insulation improves the thermal performance of your sealing work. The recommended insulation level varies by climate zone; the DOE's website provides R-value recommendations by ZIP code. Learn more about changes with measurable impact on monthly costs in our utility bill savings guide.
Don't Seal Around Combustion Air Vents
Older furnaces, water heaters, and boilers that draw combustion air from the surrounding space need that air to operate safely. Eliminating all infiltration without upgrading combustion equipment can cause dangerous backdrafting of carbon monoxide. Have a licensed HVAC technician evaluate your heating system before undertaking significant whole-house air sealing work.
Walls, Floors, and Other Overlooked Leak Points
After doors, windows, and the attic, several other areas commonly leak air in older homes:
- Electrical outlets and switches on exterior walls: Remove the cover plate and install foam gaskets cut to fit behind it. These gaskets are inexpensive and take under a minute each to install.
- Basement rim joists: The rim joist - the perimeter framing just above the foundation - is often uninsulated and full of small gaps. Cut rigid foam insulation to fit each bay and seal edges with spray foam.
- Recessed lighting: Older recessed cans that are not rated IC (insulation contact) or airtight should not be covered with insulation. Retrofit airtight covers can be installed from the attic above; these are designed to allow safe contact with insulation while stopping air flow.
- Fireplace dampers: When the fireplace is not in use, a closed damper still allows significant air flow. Inflatable chimney balloon plugs are removable, reusable solutions for unused fireplaces.
See our weekend project guide for step-by-step details on outlet gaskets, attic hatch sealing, and other quick wins.
Prioritizing Your Work for Maximum Impact
With many possible projects, sequencing matters. A practical order of priority for most older homes:
- Attic bypasses - highest volume of air movement, often most cost-effective per hour of work
- Basement rim joists - significant leakage, accessible, and materials are modest in cost
- Door sweeps and weatherstripping - visible, tactile improvement, low material cost
- Window caulking and weatherstripping - especially important for single-pane or original wood windows
- Outlet and switch gaskets - quick and inexpensive, worth doing throughout
Keep records of what you seal and when, both to track progress and to inform future maintenance. Note that any work touching permitted systems - gas lines, structural framing, electrical panels - requires appropriate permits and licensed trades in most jurisdictions. Verify local requirements before starting.
Weatherproofing a drafty home is not a single project but an ongoing process of identifying, sealing, and re-checking. Even modest, phased improvements add up meaningfully over time in both comfort and energy performance.