

| Smallest common increment | 1/16 inch (Standard for most US household tape measures) |
| Fraction line levels | 4 distinct lengths (Representing 1/2", 1/4", 1/8", and 1/16" divisions) |
| Standard stud spacing (US) | 16 inches on center (Residential framing convention; may vary by structure) |
| Hook play range | Approximately 1/16 inch (Intentional design feature, not a defect) |
| Common tape lengths | 12 ft, 16 ft, 25 ft (Most DIY and contractor tape measure sizes) |
How a Standard Tape Measure Is Laid Out
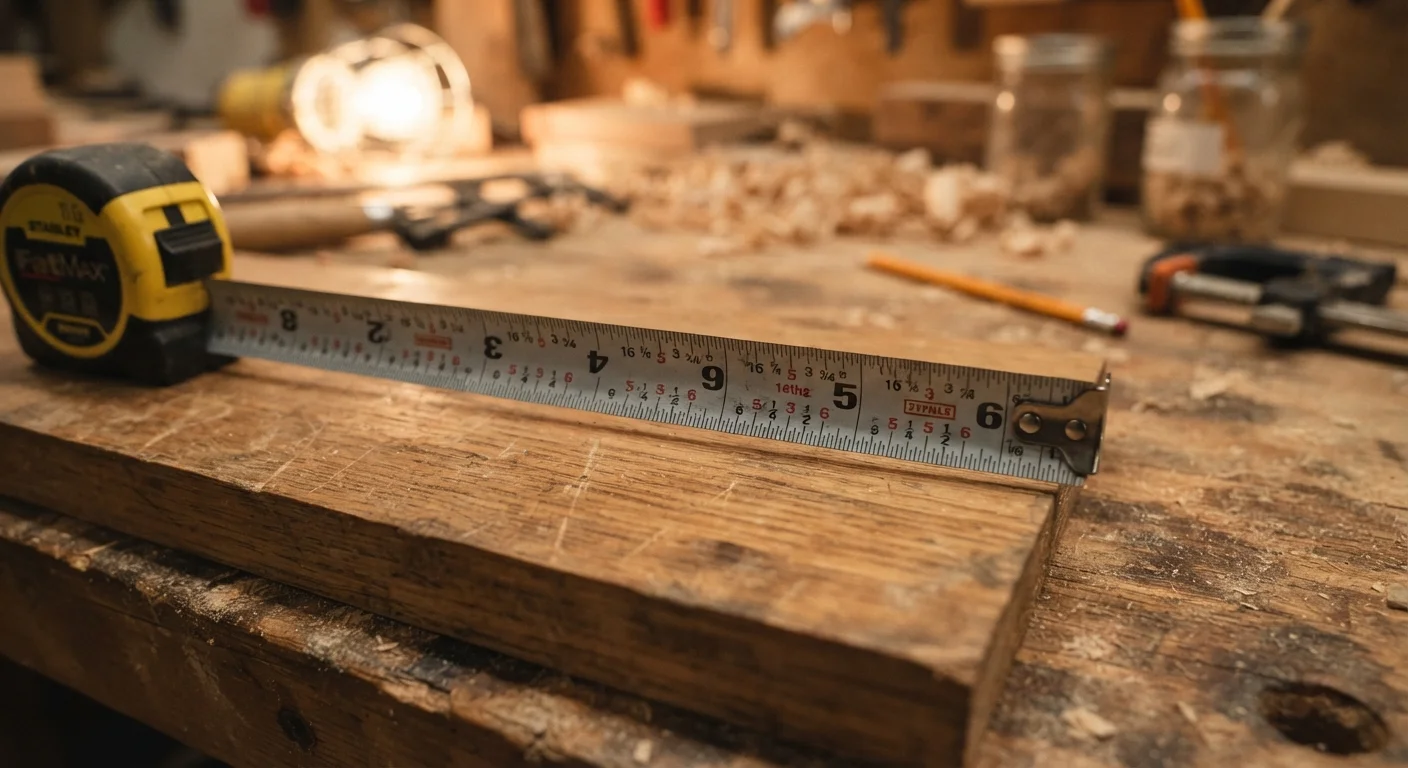
A US tape measure divides each inch into equal fractions using a hierarchy of line lengths. The longest line marks the full inch. The next-longest marks the half-inch (1/2"). Shorter lines mark quarters (1/4", 3/4"), then eighths, then sixteenths. Most household tapes go down to 1/16", and some precision tapes show 1/32".
| Smallest common increment | 1/16 inch (Standard for most US household tape measures) |
| Fraction line levels | 4 distinct lengths (Representing 1/2", 1/4", 1/8", and 1/16" divisions) |
| Standard stud spacing (US) | 16 inches on center (Residential framing convention; may vary by structure) |
| Hook play range | Approximately 1/16 inch (Intentional design feature, not a defect) |
| Common tape lengths | 12 ft, 16 ft, 25 ft (Most DIY and contractor tape measure sizes) |
The key insight: line length tells you the denominator. A medium-length line always means the same fraction class, no matter where it appears on the tape. Once you identify the four line lengths by sight, you stop counting lines and start reading fractions directly.
Numbers printed on the tape mark whole inches. On many tapes, the 16" and 32" marks appear in red or are highlighted - these indicate standard stud spacing used in US wall framing, a practical shortcut for layout work.
Reading the Fractions Step by Step
Follow this sequence every time you need to read a measurement:
- Find the last whole inch before the end of your material or mark. That number is your starting point.
- Count how far past that inch mark your measurement falls. Look at the length of the line nearest your mark.
- Identify the fraction class using the table below, then read the fraction directly.
| Line Length | Fraction | Decimal Equivalent |
|---|---|---|
| Longest (after whole inch) | 1/2" | 0.500" |
| Medium-long | 1/4" or 3/4" | 0.250" / 0.750" |
| Medium | 1/8", 3/8", 5/8", 7/8" | 0.125" increments |
| Short | 1/16" increments | 0.0625" increments |
Example: if your mark falls two short lines past the 3/4" line, you add 2 × 1/16" = 2/16" = 1/8". So your full reading is + 3/4" + 1/8" = + 7/8".
Fraction increment
The smallest unit of measurement marked on a particular tape measure. Most household tapes use 1/16" as their smallest increment; precision tapes may use 1/32".
Hook play
The intentional small movement built into a tape measure's end hook. It shifts inward for inside measurements and outward for outside measurements, keeping readings accurate in both cases.
Stud mark
A highlighted indicator at 16" intervals (and sometimes 19.2" or 24") on a tape measure. These align with standard wall stud spacing in US residential construction.
Inside measurement
A measurement taken between two surfaces - for example, the interior width of a window frame - where the tape hook is pushed flush against one surface rather than hooked over an edge.
Nominal vs. actual
Lumber and materials are often sold by nominal dimensions (e.g., a "2×4") that differ from true measured dimensions (which typically measure 1.5" × 3.5"). Always verify actual dimensions when precision matters.
Common Mistakes and How to Avoid Them
Even careful DIYers run into these recurring problems:
- Confusing 1/8" and 1/16" lines. On a compact tape, these lines look nearly the same size. Hold the tape at eye level under good light and compare line heights directly against the half-inch mark as your reference.
- Ignoring the hook play. The metal hook at the end of a tape measure is designed to slide slightly - about 1/16" - to compensate for whether you're hooking over an edge or pushing against a surface. This is intentional, not a defect. For inside measurements, push the hook against the wall; for outside measurements, hook it over the edge.
- Misreading upside-down numbers. When a tape curves back on itself, numbers invert. Always reset the tape so numbers read left to right before recording a measurement.
- Skipping a double-check. Measure twice, mark once - a cliché because it consistently prevents wasted material. Before committing a cut, verify with a second pass.
Accurate measurement is a foundational skill for any home project. Once it feels natural, you'll find it applies everywhere from hanging shelves to planning a larger renovation without costly surprises. For tasks that go beyond precise cuts into permitted or structural work, see when a repair needs a licensed professional.