

Key Takeaways
Why Small Kitchen Organization Demands a Different Approach
In a standard kitchen, a little clutter is an inconvenience. In a small kitchen, the same amount of clutter eliminates the workspace you need to cook safely and efficiently. The counter isn't a staging area - it's the kitchen's engine room, and every inch counts.
The good news is that most compact kitchens have more usable storage than they appear to. Cabinet interiors are rarely used to their full depth or height. Wall space adjacent to the stove or beside the refrigerator often sits empty. Cabinet doors - inside and out - go completely unused. The strategies in this guide work by systematically recovering that hidden capacity rather than asking you to buy more furniture or expand the room.
The organizing principles here build on a zone-based approach to home organization, adapted specifically for the constraints of a compact kitchen layout.
Don't Skip the Declutter Step
Adding organizers to a cluttered kitchen only relocates the problem - it doesn't solve it. Storage products work best when the number of items you're storing has already been reduced to what you actively use. Organizing before decluttering often results in buying containers you don't need and filling them with things you don't use.
What You'll Need Before You Start
Successful kitchen reorganization requires a bit of preparation. Gather your supplies, clear your schedule, and - critically - resist the urge to skip the declutter stage in favor of jumping straight to buying organizers.
What you will need
Measuring tape
Measure shelves, drawers, and wall sections before purchasing any organizers or racks.
Drawer dividers
Partition deep drawers to prevent utensils and tools from shifting and piling up.
Magnetic knife strip
Mount on the wall to store knives vertically, freeing up a drawer or counter knife block.
Tiered shelf inserts
Stack dishes, cans, or spices at different heights inside a cabinet to double visible capacity.
Over-door organizer
Attach to the inside of cabinet or pantry doors to hold spices, foil rolls, or small items.
Wall-mounted hooks or rail system
Hold pots, pans, or utensils on vertical wall space, clearing cabinet room for other items.
Step-by-Step: Reclaiming Your Kitchen
Follow these steps in order. Each one builds on the last, and skipping ahead - particularly past the declutter and zone-planning stages - tends to produce a tidier version of the same problem rather than a genuinely functional kitchen.
Empty and evaluate every storage area
Pull everything out of your cabinets, drawers, and pantry shelves and place it on a table or the floor. Seeing the full inventory at once helps you identify duplicates, expired goods, and items you no longer use. Set aside anything that hasn't been touched in six months or more for donation or disposal.
Define activity zones before putting anything back
Before returning a single item, decide which areas of your kitchen will serve which functions: a prep zone near the cutting board, a cooking zone near the stove, a coffee and breakfast zone near the kettle. Organizing by activity rather than by item type is the core principle behind zone-based organization, and it meaningfully reduces the friction of daily cooking.
Maximize vertical space inside cabinets
Most cabinet shelves are spaced for tall items, leaving wasted air space above shorter ones. Add tiered shelf inserts, stackable bins, or small risers to create a second usable layer within each cabinet. Stack plates and bowls vertically using plate racks where possible to improve access without adding clutter.
Move storage onto walls and cabinet doors
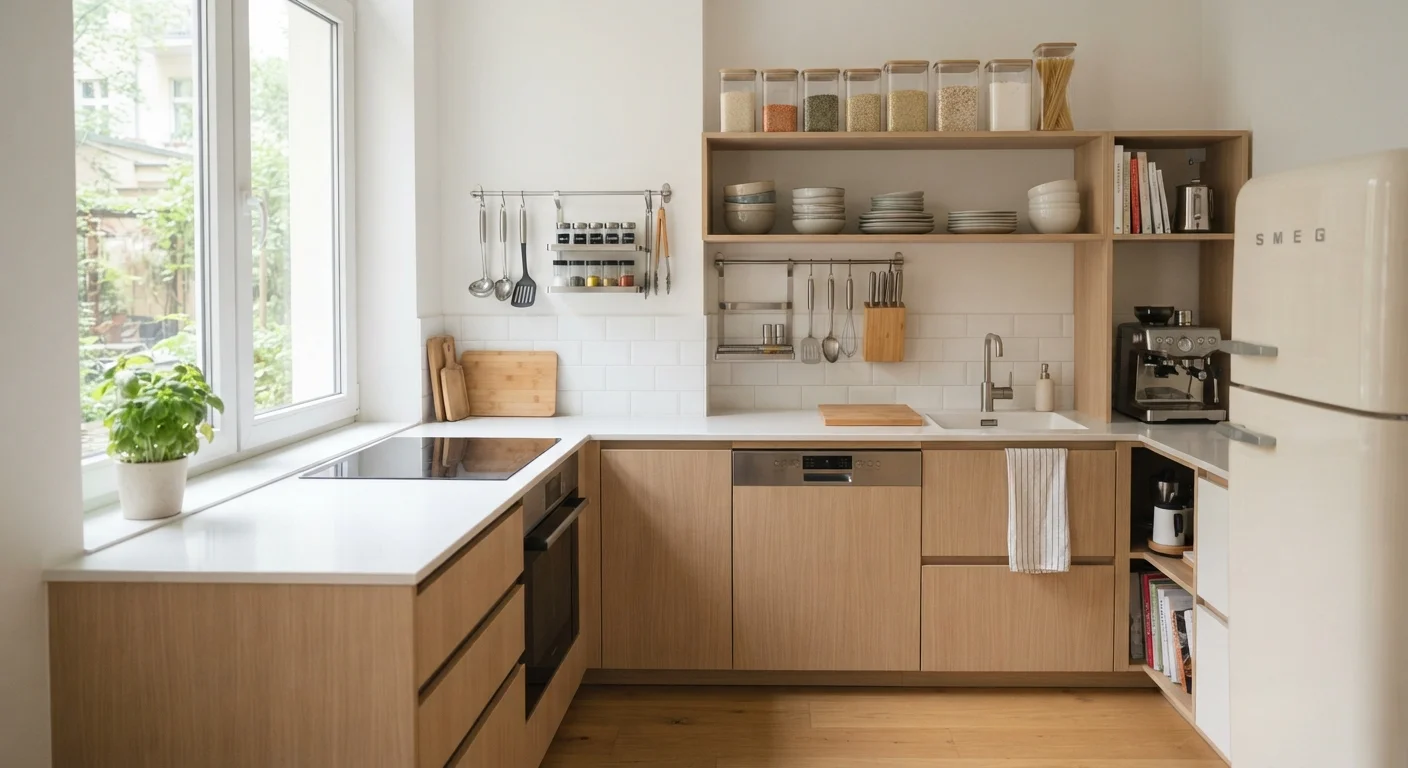
Wall space is frequently overlooked in small kitchens. A rail system or mounted hooks can hold utensils, pots, and lids that would otherwise crowd a drawer. Over-door organizers on pantry or cabinet doors are ideal for spice packets, aluminum foil, plastic wrap, and cleaning supplies. For more perspective on how vertical strategies compare to horizontal layouts, see our guide to vertical versus horizontal storage.
Establish a strict counter rule
The counter is a workspace, not a storage surface. Keep only the appliances or tools you use every single day - coffee maker, dish drying rack - on the counter. Everything else belongs in a cabinet or closet. When an item earns counter space, something else must leave. This discipline is the single most effective way to preserve usable workspace in a small kitchen.
Divide drawers and standardize container sizes
Deep, undivided drawers become chaotic quickly. Use drawer dividers to separate utensils by category and prevent everything from shifting when the drawer opens. In the pantry or cabinet, switching to uniform, stackable food storage containers saves substantial space compared to mismatched original packaging.
Schedule a monthly reset
Small kitchens drift back to clutter faster than larger ones because there is less tolerance for overflow. Set a monthly reminder - fifteen minutes is usually enough - to clear any items that have crept onto the counter, return misplaced tools to their zones, and discard expired pantry items. A consistent reset habit is easier and faster than a full reorganization every season.
Open Shelving Can Help - With Trade-offs
Open shelves can visually expand a small kitchen and make frequently used items more accessible without opening cabinet doors. However, they require consistent tidiness since everything is always on display. Before removing cabinet doors or installing open shelving, review the practical day-to-day implications in our look at open shelving in kitchens.
Maintaining the System Over Time
An organized small kitchen is not a one-time project - it's an ongoing standard. The biggest risk is gradual drift: one appliance left on the counter, a few extra cans pushed to the back of a shelf, a drawer that never quite gets straightened. None of these individually collapses the system, but together they compound quickly in a small space.
If multiple people share the kitchen, clarity about where things belong matters more than in a solo household. Labeling zones and containers reduces the guesswork that leads to items landing in the wrong place. For households navigating different organizational standards, our piece on organizing shared spaces when standards differ offers useful frameworks for finding common ground without conflict.
Small adjustments made consistently - returning items to their zones, doing a quick counter clear after cooking - take under a minute each and prevent the need for a full reset. Think of the monthly audit as a safety net, not the primary maintenance tool.
Wall Mounting Requires Checking Stud Locations
Any wall-mounted rail, hook system, or magnetic strip that will hold significant weight must be anchored into wall studs or appropriate wall anchors for your wall type. Mounting into drywall alone can result in the fixture pulling free under load. If you are unsure about your wall construction or how to locate studs safely, consult a qualified handyperson before proceeding.